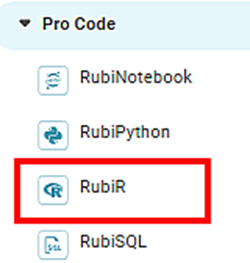
RubiR is a feature within Code Fusion on the Rubiscape platform to write your code in the R programming language for building models.
You can use RubiR as an independent node or connect it to your Reader node (dataset) or other algorithm nodes.
Notes: |
|
Writing Custom Code using RubiR
To write your custom code using RubiR, follow the steps given below.
- Create your algorithm flow. Refer to Building Algorithm Flow in a Workbook Canvas.
- Drag and drop RubiR on your workbook canvas.
Connect RubiR to the required node in your algorithm flow.
Notes:
- You can connect a reader to RubiR but cannot access any of the features of the reader.
- Alternatively, you can use RubiR as a stand-alone node without connecting to any other node.
- Select RubiR and in the Properties pane, click Configure.
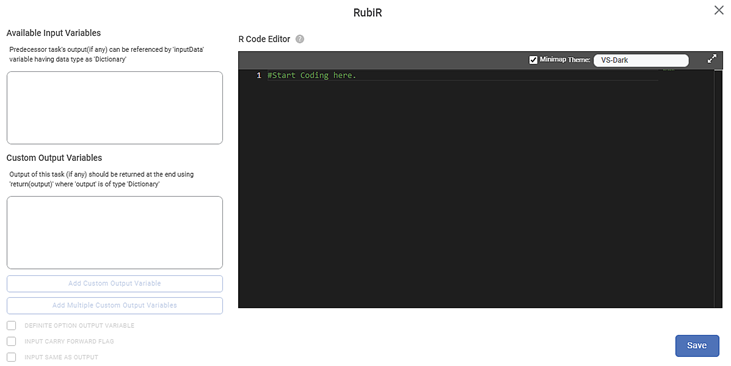
The RubiR configuration page is displayed.The fields/icons on the R configuration page are described in the table below.
Icon/Field
Description
Available Input Variables
- It displays the features (columns) present in the preceding task’s output. These features are stored in a variable named
inputData, which is of dictionary data type. - Dictionary is a data type that contains name-value pairs.
- You can access the features in the
inputDatavariable and process them to create your custom variables. - You can access all the features (columns) present in the preceding task and the index of each row in the
inputData[]variable. - You can access a single feature (column) from the features present in a particular preceding task and the index of each row in the
inputData[‘<column_name>’]variable.
Custom Output Variables
Currently Not available in RubiR.
R Code Editor
The R Code Editor helps you to enter your customized R code. Refer to Using R Code Editor.
TRAINING REQUIRED
Functionality is coming soon.
Minimap - It is a small, scaled version of code editor window.
- If selected, shows the overview of entire code area in top right corner of code editor window.
Theme - It helps you to customize the code editor theme.
- Following theme options are provided:
- VS-Dark
- VS-Light
- High Contrast-Dark
- High Contrast-Light
It helps you to maximize the Code Editor page.
It saves the changes, closes the configuration page, and returns you to the workbook canvas
- It displays the features (columns) present in the preceding task’s output. These features are stored in a variable named
- Write your R code in the R Code Editor. Refer to Using R Code Editor.
- Click Save.
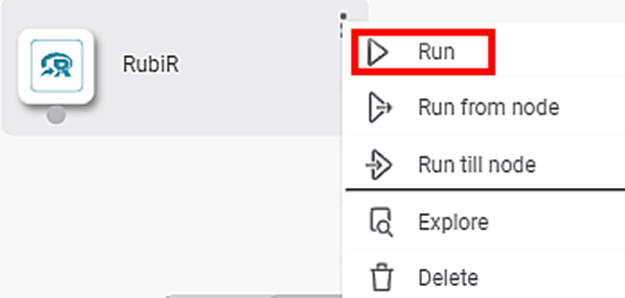
- To execute the code, Run the RubiR node.
After successful execution, a confirmation message is displayed. You can view the output of the custom component under View Log > Custom Component Log.
Using R Code Editor
In the R Code Editor, you can add your R code.
- The input variables are stored in the form of a Dictionary data type inputData.
- To print to the console, use
print().
A sample R code is shown in the image below.
The table below explains the above code snippet.
Line of Code | Result |
| It creates a data frame with the name x using the provided data. |
| It displays the internal structure of the df1 object. |
| It prints the data frame. |
Writing Custom Functions to Access Data using RubiR
You can use custom functions in RubiR to
- upload file to cloud storage
- download file from cloud storage
The following sections explain these custom functions.
Uploading File to Cloud Storage
RubiR provides a custom function to upload files to the S3 server. The code syntax to upload a file to cloud storage is shown below.
|
Downloading File from Cloud Storage
RubiR provides a custom function to download files stored on the S3 server. The code syntax to download a file from cloud storage is shown below.
|
The syntax to read the contents of the downloaded file is given below.
|
Publishing RubiR Code
You can publish the RubiR code from a workbook and reuse it in another workbook or workflow. This feature is similar to publishing models in RubiStudio.
To publish RubiR code, follow the steps given below.
- Write the RubiR code as required. Refer to Writing Custom Code using RubiR.
- Run the RubiR node.
- After the node is successfully executed, select the node, click the vertical ellipsis (), and click Publish code.
After the code is successfully published, a confirmation message is displayed. This code is listed under Reusable Codes on the Rubiscape Home page.
Notes: |
|
Reusing RubiR Code
The published RubiR code is available for reuse in workbooks and workflows in the same workspace.
To reuse a published code, follow the steps given below.
- Open the workbook or create a workbook. Refer to Opening a Workbook and Creating a Workbook.
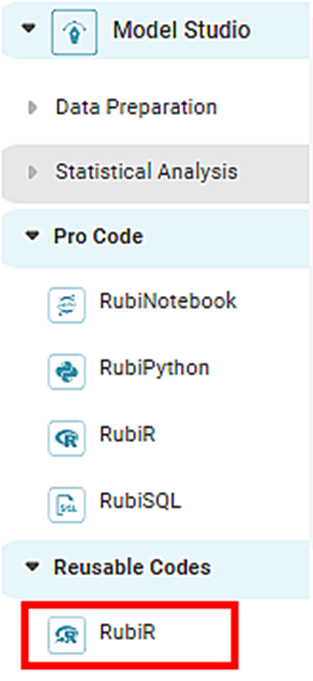
- Click Reusable Codes under Code Fusion in rubistudio in the Task Pane.
The available reusable codes are displayed as shown in the figure below.
- Double-click or drag-and-drop the node on the workbook canvas.
- To run the code, select the node, click the vertical ellipsis ( ), and click Run.
Table of Contents


