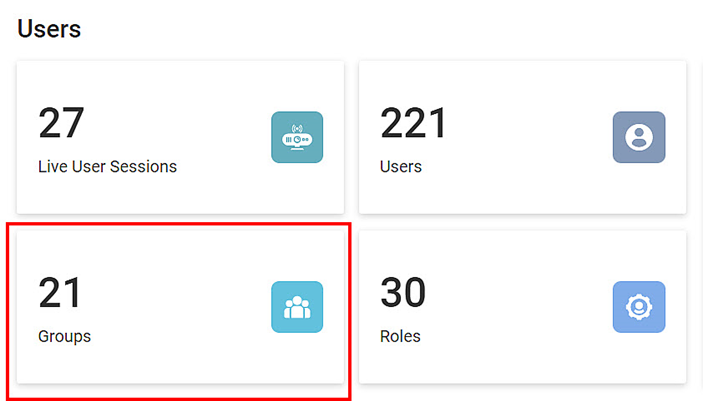
You can view your Tenant's users, groups, and roles in the User space. The four clickable KPI Cards for Live User Sessions, Users, Groups, and Roles take you to the respective tabs on the Content Page.
Group Page
Group consists of several users who perform dedicated tasks while working on a project. Any task allocated to a group applies to all its users.
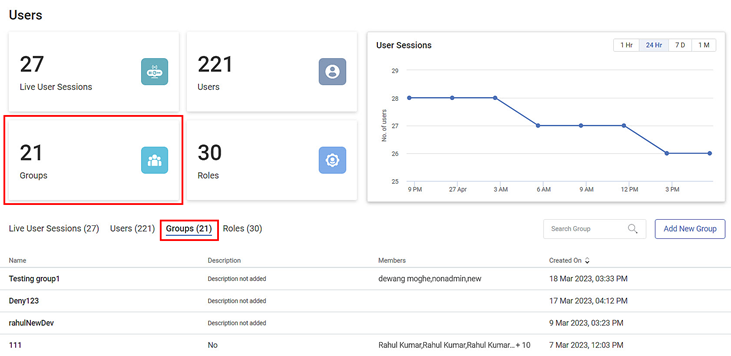
The image below shows the contents below the Groups tab.
The following table explains various fields on the Groups tab.
Field/Icon | Description |
|---|---|
Group KPI Card
| |
User Sessions | User Session Chart
|
Groups (Number) | Groups List Tab
|
Search Group |
|
Add New Group |
|
Menu Icon
|
Adding a Group
You can add groups as required. Groups are particularly useful if you wish to create a team of users intended for the same activity. Make sure to give a suitable name and description to the group. It helps you identify the group easily.
To add a group, you need to fill in the details in the
- Group Details Section
- Access Control Section
To add a group,
- In the Groups tab, click Add New Group on the extreme right. The Add Group page is displayed. It contains two sections, viz: Group Details and Access Control.
- In the Group Details section, enter a suitable Name and Description of the Group.
- Select the checkboxes corresponding to required users from the Members drop-down and add them to the group.
- Click Add Group in the top-right corner. The newly added group appears in the Groups list on the Users page.
|
|
Searching a Group
Searching for a group from a long list can be time-consuming. The Search Group field helps to search your desired group quickly.
To search for a group,
- In the Groups tab, click inside the Search Groups field.
- Type the name of the group you want to search. Partial names are allowed for searching. A list of group names matching the search string is populated as you start typing.
Editing a Group
You can edit a group to change the name and description of the group or its members.
To edit a group,
- Hover over the group you want to edit,
- Click anywhere on the highlighted row and click Edit Group on the next page.
- Click on the menu icon () and click Edit. You are navigated to the Edit Group page.
- Make changes to the group details as required. You can add new users or remove the existing ones by clicking the Cancel icon ( ) next to their name.
- Click Save on the top-right corner. The updated group appears in the Groups list on the Users page.
Group Access Control
In the Access Control section, under separate tabs, you can see the
- Workspace
- Projects and Datasets under it
The workspaces, projects and datasets are manually added and the access is also decided/handled by the Admin manually.
To change the access controls to Projects and Datasets,
- Navigate individually to a project or dataset.
- Select or clear the checkboxes corresponding to View, Modify, Delete, or Deny.
- Click Save. The changes to access controls are modified.
The following table helps us understand the hierarchy of the four access controls.
Access | Users can | Additionally, Users can |
|---|---|---|
View | Only view a Workspace, project, and Dataset | – |
Modify | Modify a Workspace, Project, and Dataset | View a Workspace, Project, and Dataset |
Delete | Delete a Workspace, Project, and Dataset | View and Modify a Workspace, Project, and Dataset |
Deny | NOT modify, view, or delete a Workspace, Project, and Dataset | – |
|
|
Deleting A Group
You can delete a group that's no longer required, has no users, or is inactive for long. Deleting a redundant group avoids the accumulation of unnecessary groups.
To delete a group,
- In the Groups tab, navigate to the group you want to delete.
- Hover over the group and click anywhere on the highlighted row and click Delete Group on the next page. Alternately, click on the menu icon () and click Delete. A confirmation message to delete the group pops up.
- Click Delete on the message. The group is deleted, and a confirmation message is displayed.
Table of Contents


