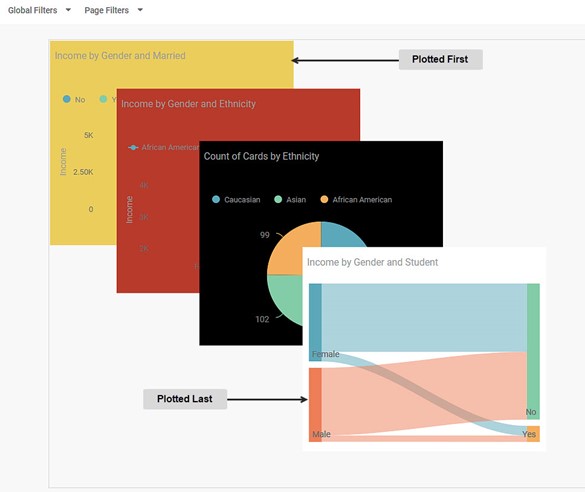
When a number of widgets are plotted on a dashboard page, they overlap each other in the sequence in which they are created. Thus, the widget plotted first appears in the hindmost position (furthest back), while the chart plotted last appears in the foremost position (leading position).
For example, in the image below, the Income by Gender and Married widget is plotted first, while the Income by Gender and Student is the widget plotted last.
In RubiSight, you can change the sequence of such overlapping widgets, by moving them backward or forward. For this, there are two options on the More Options menu present on all the widgets. These are explained in the table below.
Table 1: Options to Change the Sequence of Overlapping Widgets
Field | Description | Remark | |
Bring to Front | Bring to Front | This option allows you to shift the widget at the foremost position. | — |
Bring Forward | This option allows you to shift the widget one place in the forward direction. | ||
Send to Back | Send to Back | This option allows you to shift the widget at the hindmost position. | — |
Send Backward | This option allows you to shift the widget one place in the backward direction. | ||
Notes: |
|
To change the sequence of overlapping widgets, follow the steps given below.
- Create the number of widgets as required. Refer to Creating Charts using Widgets.
For example, here we plot four widgets as shown in the figure above. - Click the widget whose sequence you want to change.
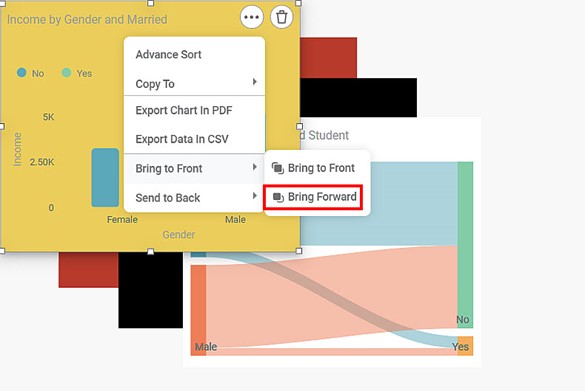
For example, we click the Income by Gender and Married widget. The chart pops up in the front of all other charts on the dashboard. - On the top right corner of the widget, click the More Options ellipsis ( ).
The available options are displayed. - Hover over the Bring to Front option and click Bring Forward.
- Click at any point in the empty space on the dashboard page.
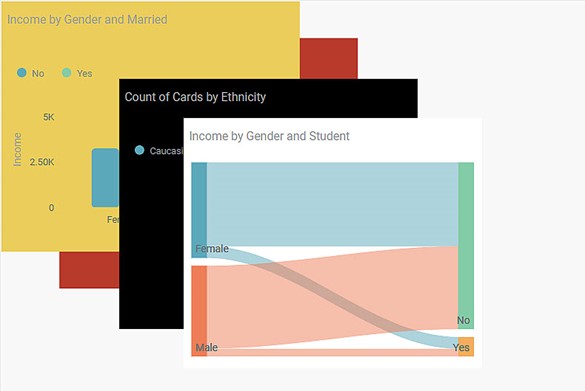
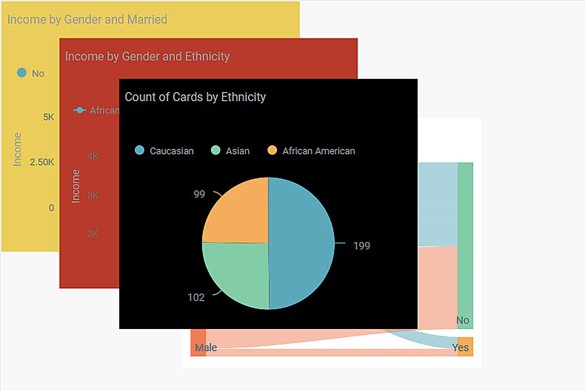
The Income by Gender and Married widget shifts one place in the forward direction. Now, the widget is seen to be stacked in between the second and third widgets in the original image. - Similarly, you can use the Send to Back option to move a widget in the backward direction. For example, in the image below, we apply the Send Backward option on the leading widget, that is Income by Gender and Student. The widget shifts one place in the backward direction. Now, the widget is seen to be stacked in between the second and third widgets in the original image.


