Creating SQL Dataset
To create a SQL dataset, follow the steps given below.
- On the home page, click the Create icon (). The Product Selection page is displayed.
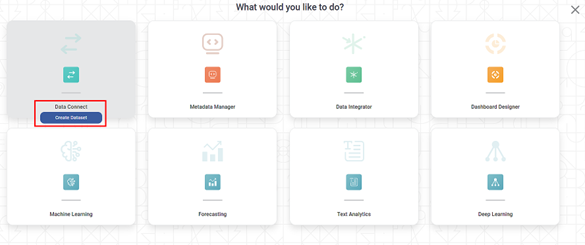
- Hover over the Data Connect tile and click Create Dataset.
The following figure shows the Product Selection page.
The Connect page for choosing your dataset type is displayed.
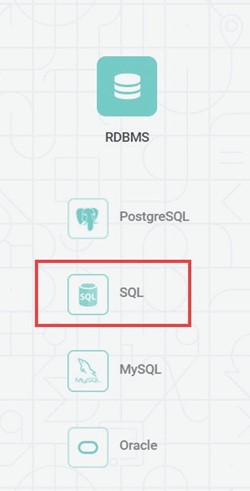
From the RDBMS options, select SQL.
The following figure shows RDBMS options.
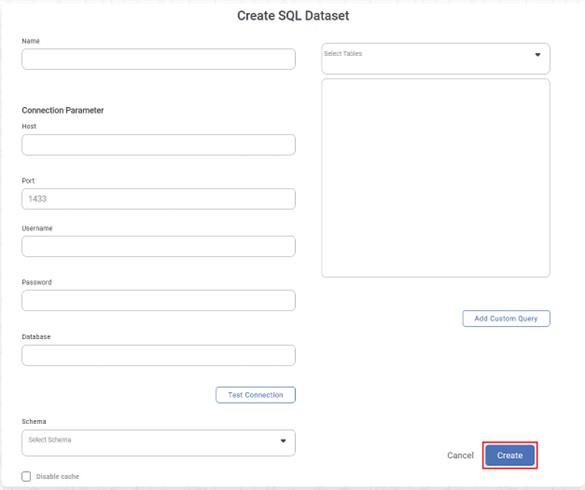
The Create SQL Dataset page is displayed. - Enter a suitable Name for the Dataset.
- In the Connection Parameter section, enter the following details.
-- Host (IP address of the server where your database resides)
-- Port (for the localhost on which the SQL database service is available)
-- Username (of the account authorized to access the database)
-- Password (for the account)
-- Database (Name to access schema(s) and the table(s) - Click Test Connection. The message "Database Connection Successful" is displayed in green if the parameters are accurate. After a successful connection, the Database dropdown is populated with a list of available databases.
- From the Schema dropdown, select the schema(s) that contains your table(s) and click Done. After selecting the schema(s), the Select Tables dropdown is populated with a list of all available tables in the schema(s).
- From the Select Tables dropdown, select the required tables and click Done.
- To add a custom query to select data from the tables, click Add Custom Query. Add Custom Query screen is displayed. Refer to Adding A Custom Query for details.
- Click Create. The SQL dataset is created in Rubiscape and is available for use in your workbooks and workflows.
|
|


